At least half of the rover is going to be 3D printed. Considering the original author was printing for several weeks to make the whole rover, we decided to start early. This post outlines the details of transforming 3 kg of plastic wire into beautiful mechanical parts. You can skip this if you’re not into 3D printing. Scroll to the end of the post to see pictures.
Before starting to print
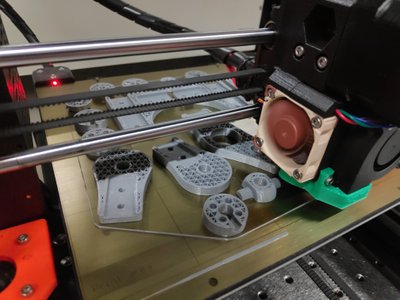
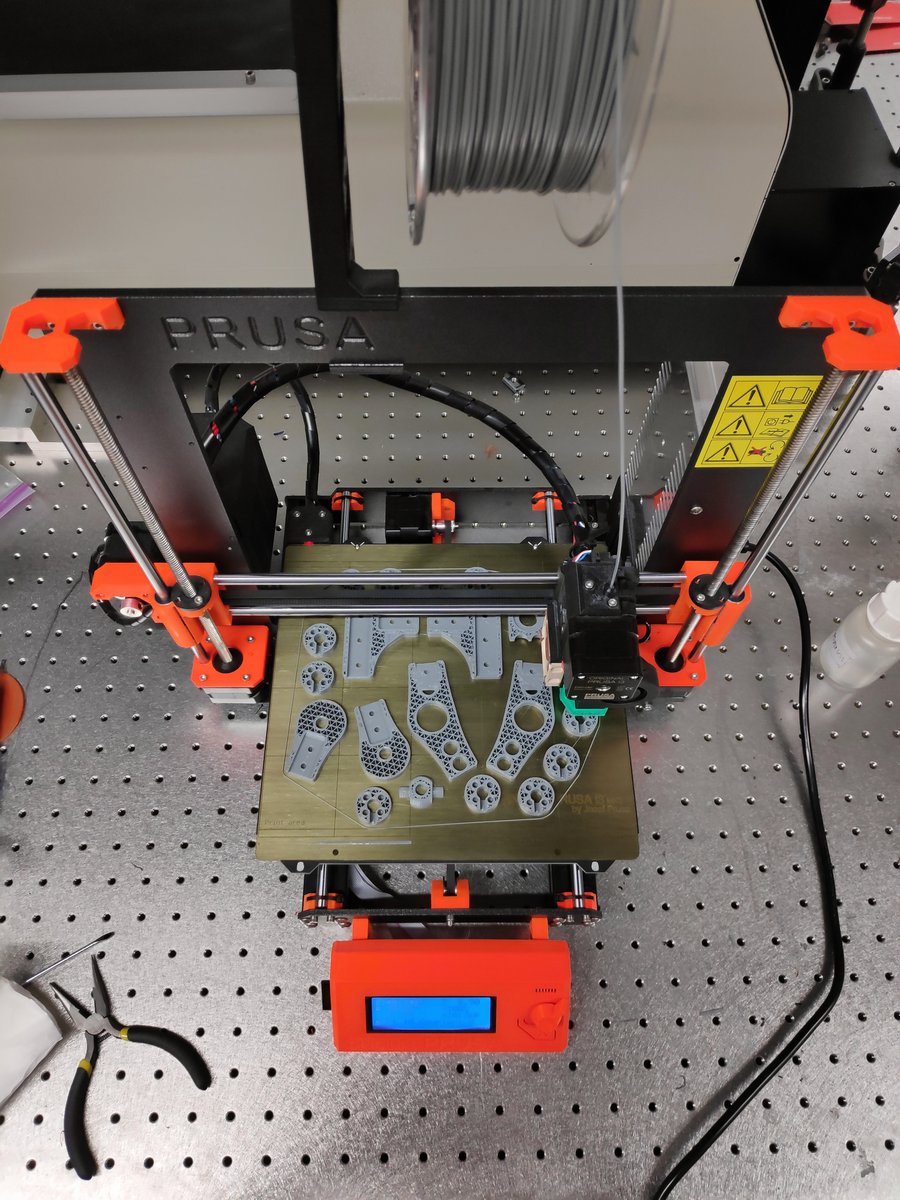
The printer used for all printing was a Prusa i3 MK3. Since we expected prolonged printing at PETG temperatures (and because we didn’t manage to upgrade to MK3S yet), we had to first re-print one small part of the printer from ABS. It’s a part, originally made from PETG, that shapes airflow around the nozzle and it is close to both the nozzle and the heat bed. This means that prolonged prints at higher temperatures cause it to slightly melt and eventually start colliding with the printed object. ABS can withstand higher temperatures and therefore the re-printed part should not melt — at least for a while.
Slicing
The amount of slicing which had to be done was astounding to us. There is a lot of parts to print, many of them having to be printed several times with the occasional mirroring. Since we tried to minimize the amount of printing runs, some prints required a serious skill in tetris, far beyond the capabilities of the slicer we used. In the end, we managed to slice the whole thing into 13 print runs with a run time of 15-20 hours.
Everything was very nicely prepared by the original author, which made it a surprise when we found out that some of the parts were not always rotated exactly as they should be, but several degrees off. The fact that we didn’t notice this while slicing resulted in one failed print which we luckily managed to stop before wasting too much filament.
After we noticed the mistake, during the next slicing we had to rotate the objects accordingly. We did not know Slic3r Prusa Edition added the place face on bed feature, so we ended up manually rotating the models. (To be exact, front corners were off by ~6.75 degrees while rear corners were off by ~2.25 degrees.)
Printing
We srarted with the default profile (0.2 SPEED) for the Prusa i3 mk3 and we modified it according to the original guide:
    Nozzle Diameter: 0.4mm
    Layer Height: 0.3mm
    Number of perimeters: 3.
    Number of top/bottom layers: 4.
    Infill type: Triangular
    Infill percentage: 30%
The only printing failure not caused by wrong slicing occured when one of the differential braces broke upon removal from the heat-plate. Luckily, this was one of the shortest prints.
- Number of prints: 13
- Total print time: 186 hours
- Weight of used filament: ~2.2 kg
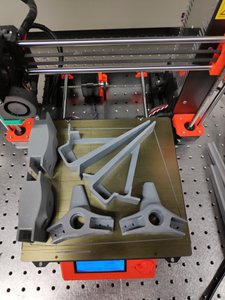
Printing progress


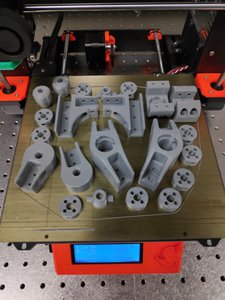
Finished prints